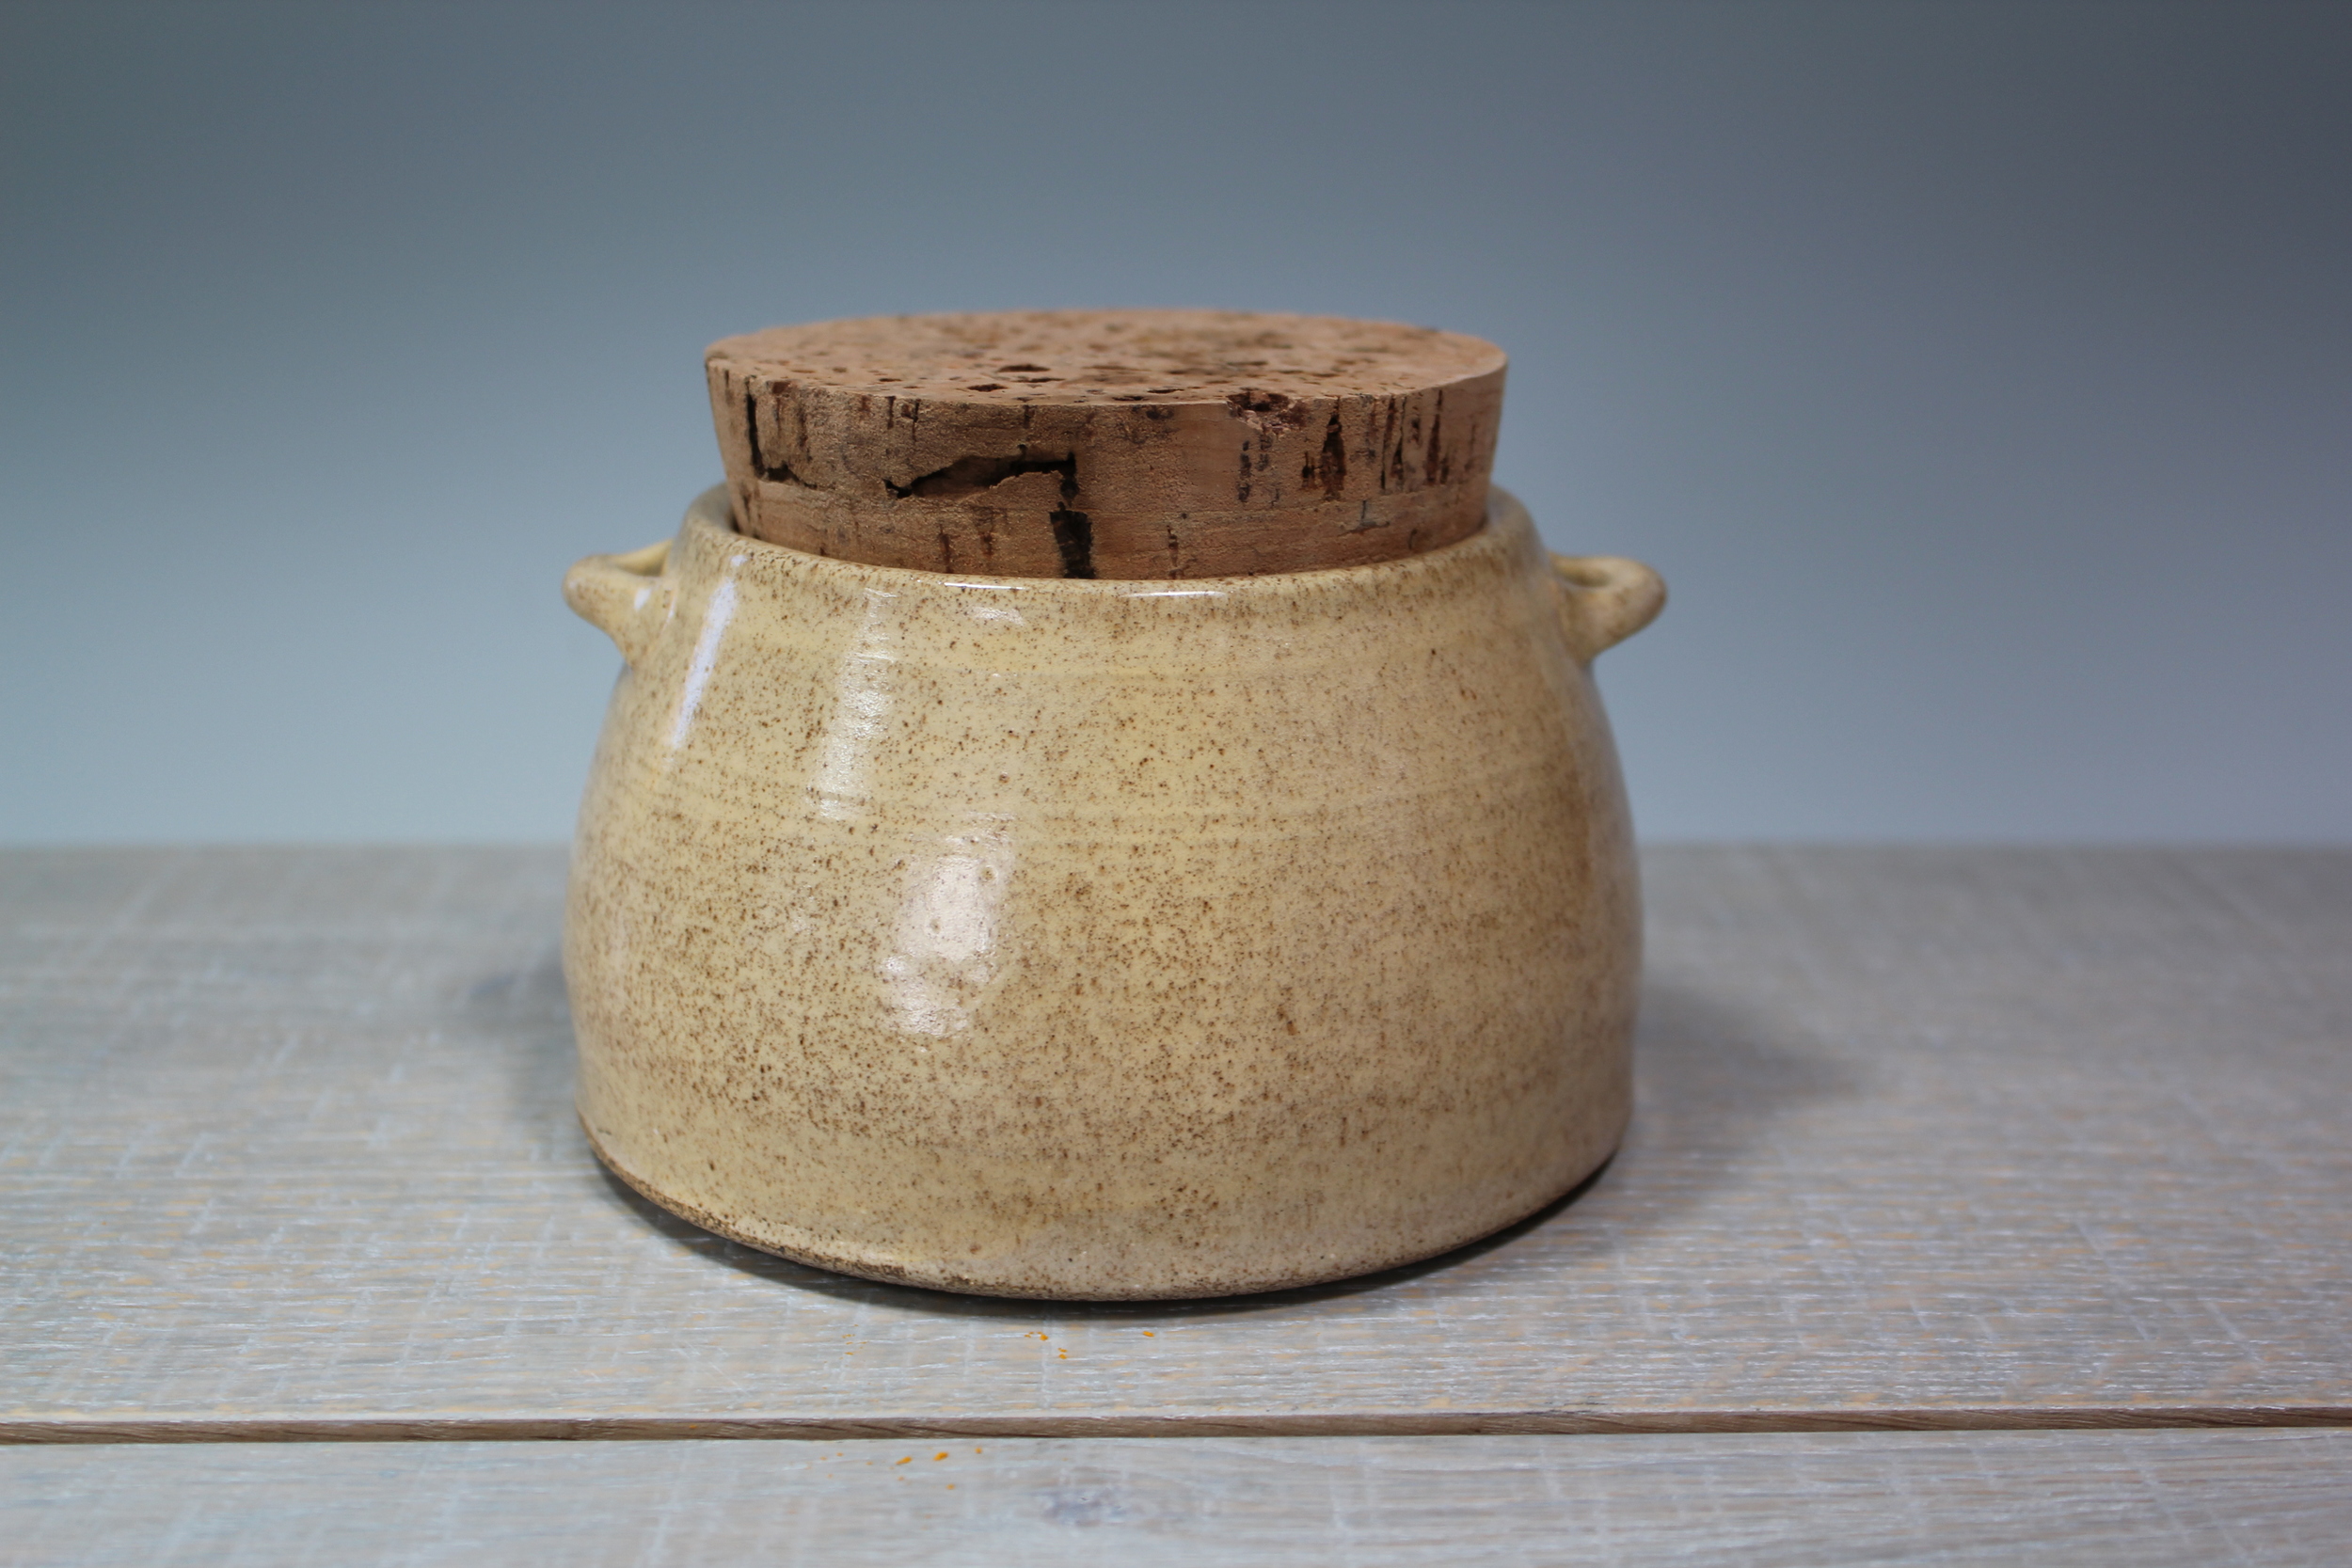
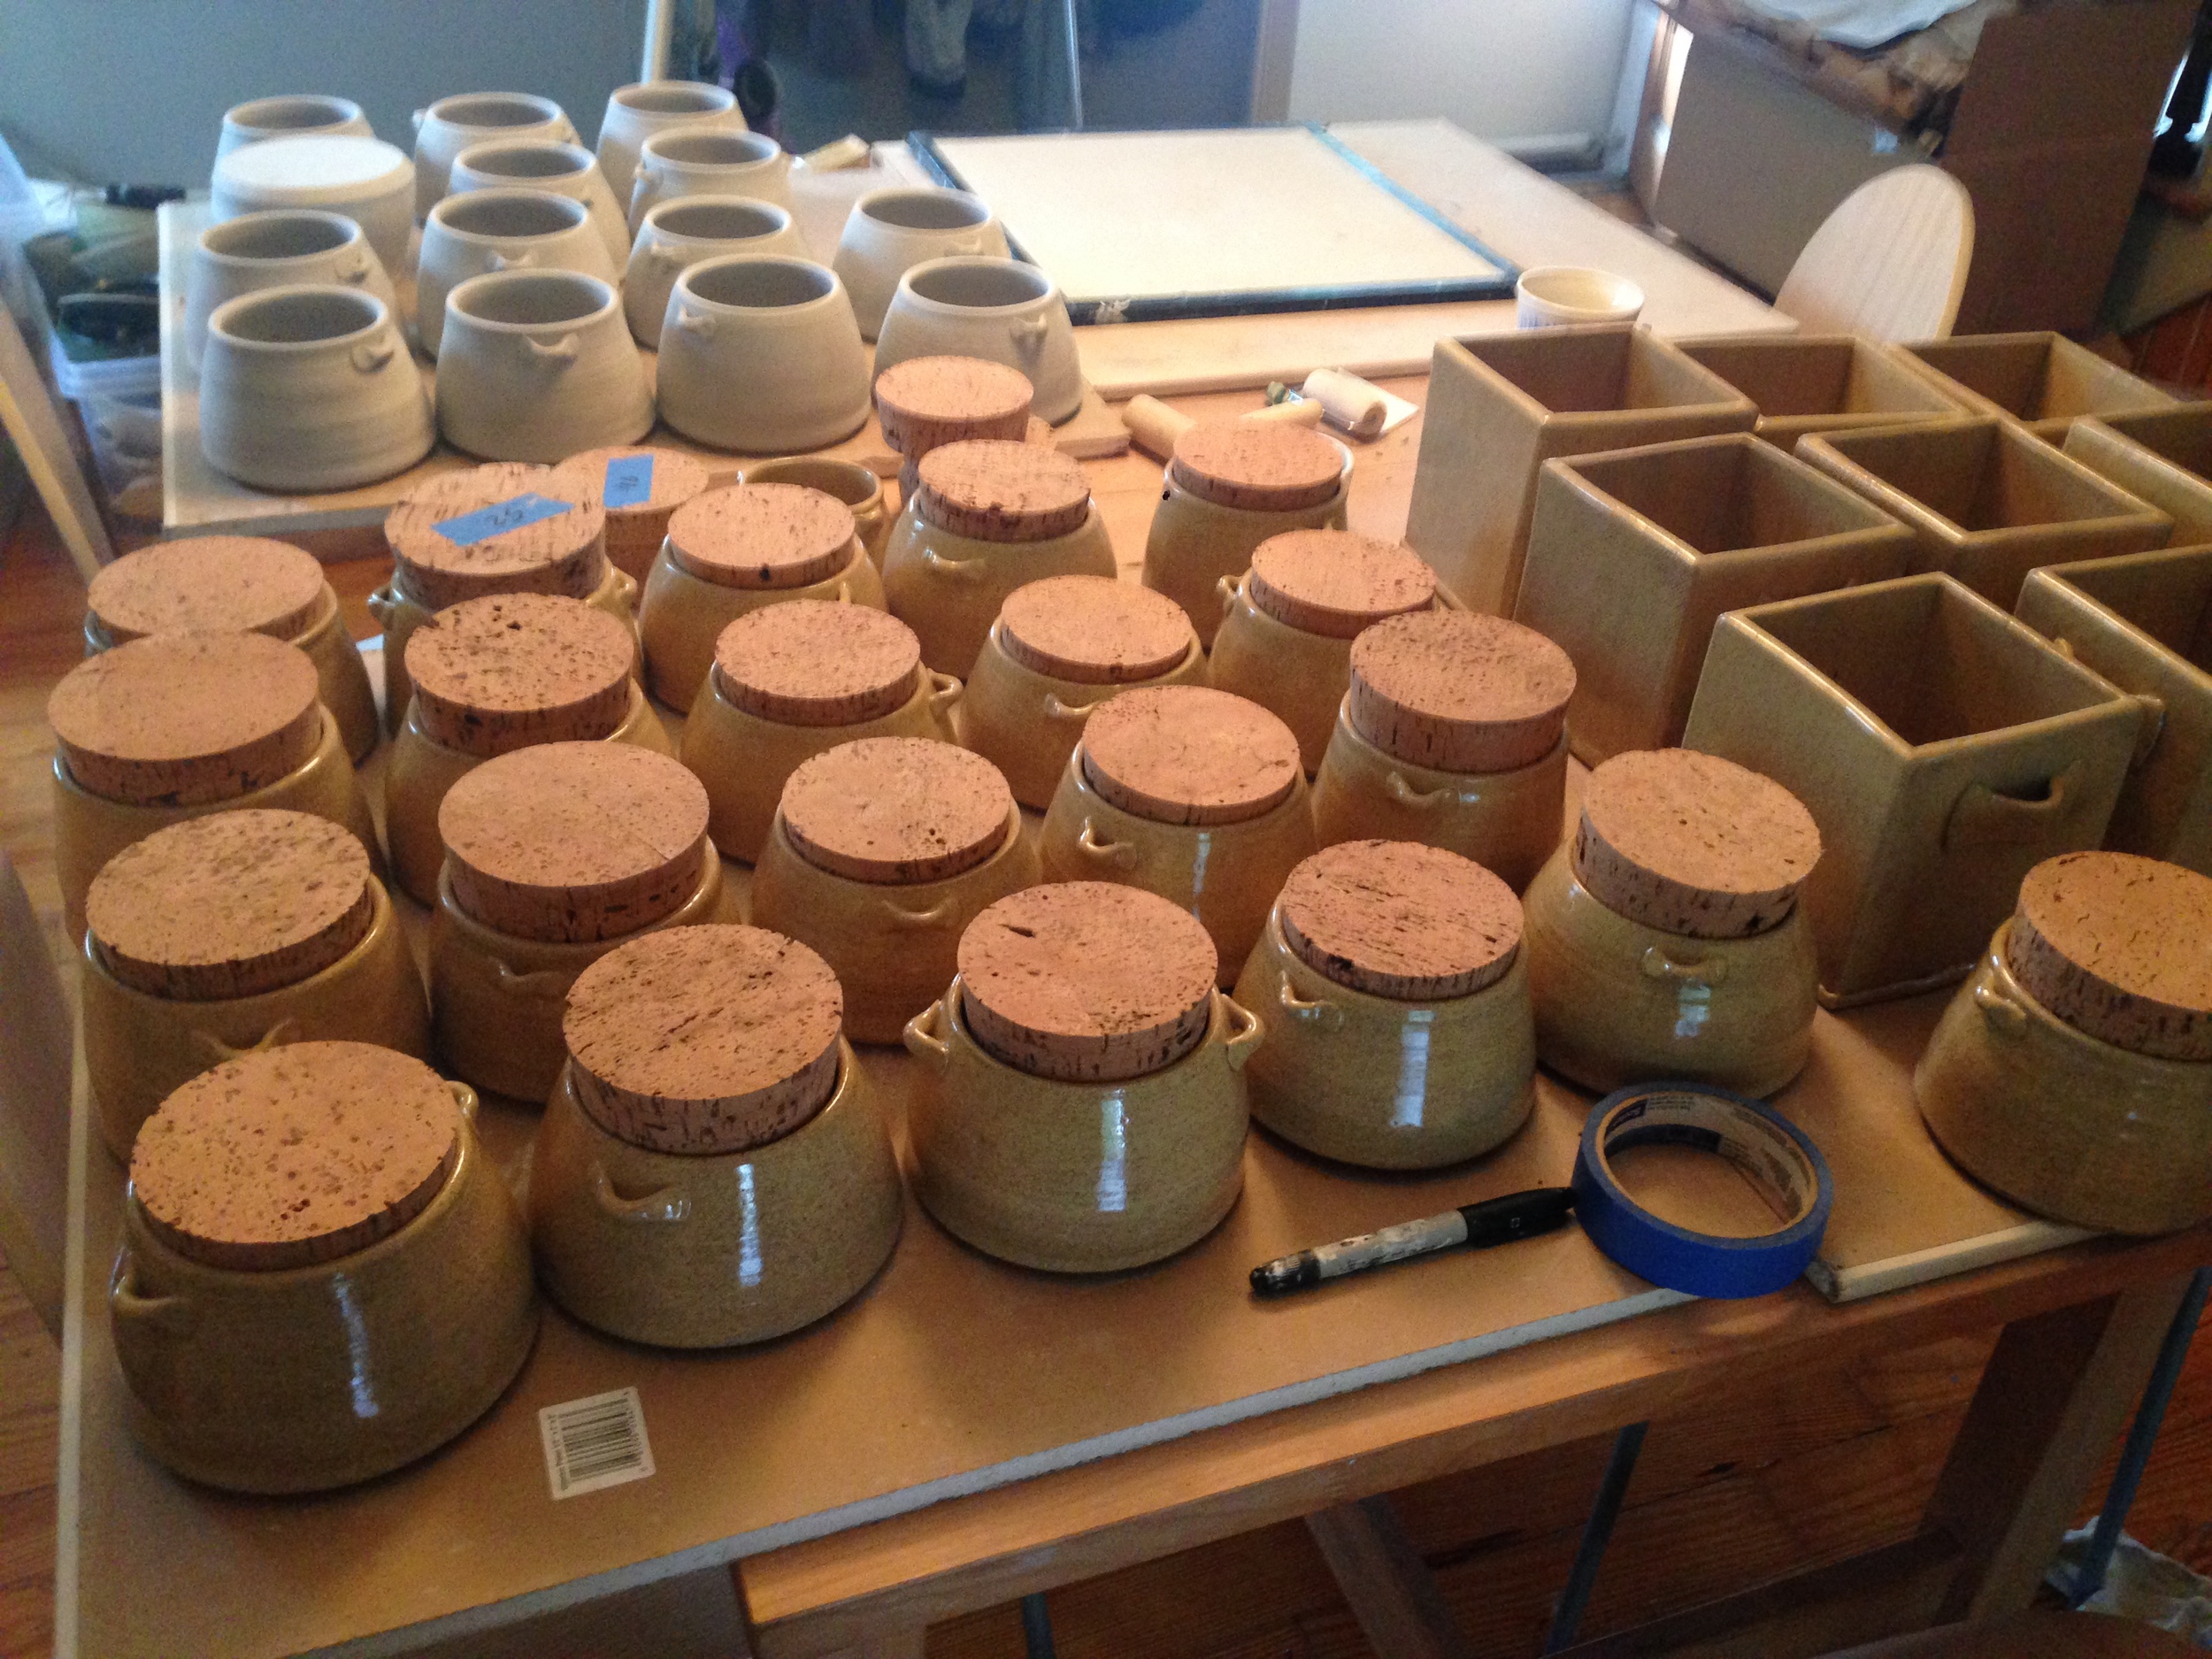
Hot out of the oven!

I want to start posting stuff on my Etsy site but everything I read about Etsy mentions that the photos are the most important thing.  So I took an online class on food photography & styling from Diana Cu & Todd Porter.  I'm a huge believer in online education, it's where I learned most of what I know about pottery & how to make this webpage.  Diana & Todd are really talented and professional food stylist/photographers so it was incredible to get access to all their tips and tricks. The class focuses mostly on styling tips and setups so with Matt's help I still have to figure out all the techincal camera part.

For my first project I wanted to get a picture of one of my casserole dishes in use.  All my pottery is oven safe but must be preheated with the oven.  This recipe for Sarah Carey's Spinach Strada popped into my mailbox at just the right time, and I thought it would be perfect to use it for this project.  I added breakfast sausage to mine.  It's super easy to whip together and would be great for a crowd around the holidays.  

Sausage & Spinach Strada

  • 1 teaspoon extra-virgin olive oil 
  • 10 ounces spinach 
  • 3 cups day-old bread cubes (1 inch) 
  • 5 large eggs, lightly beaten 
  • 1 cup whole milk 
  • 1 1/4 cups grated sharp white cheddar (3 ounces) 
  • Coarse salt and ground pepper

Preheat oven to 400 degrees. In a large skillet, heat oil over medium-high. Add spinach and cook, stirring constantly, until wilted, about 2 minutes. Transfer to a colander and drain, pressing with a rubber spatula to release as much liquid as possible. Divide bread and spinach among four small, shallow 8-ounce baking dishes.

In a medium bowl, whisk together eggs, milk, and 3/4 cup cheese. Season with 1/2 teaspoon salt and 1/4 teaspoon pepper. Divide mixture evenly among baking dishes and top with 1/2 cup cheese. Set dishes on a rimmed baking sheet and bake until set in middle and golden brown on top, 20 to 25 minutes.

Party Favors & Flowers

I've been wanting to post for awhile but things have been crazy at Quail Pottery.  Matt & I got married this fall.  We wanted a low-key celebration so we eloped to Maine and had a fun party afterwards on the water in Long Island.  The day of the party the weather was like a tsunami. But just about the time the guest arrived the rain and wind stopped & we had an amazingly calm night on the water.  The sunset was a show stopper.  I made favors for everyone that I filled with caramels.  And I made the vases for all the tables that my amazingly talented friend Jim of James Gerard Florals filled with the most insanely beautiful fall flowers.  

I tried a lot of different recipes for the caramels.  The first batch was so salty (because I didn't use unsalted butter & I put more on top) that we had to throw it out.  We ate a few test batches after that.  I finally settled on this Martha Stewart recipe because it was the perfect texture - soft and chewy.

Classic Salted Caramel Candies

  • Vegetable oil, for baking sheet 
  • 2 cups heavy cream 
  • 2 1/4 cups sugar 
  • 6 tablespoons unsalted butter, cut into pieces 
  • 1 1/4 cups light corn syrup 
  • 1/2 teaspoon coarse salt + some for the top
  • 1/2 teaspoon pure vanilla extract 

Lightly brush bottom and sides of a 9-by-13-inch rimmed baking sheet with oil. Line with parchment, leaving a 2-inch overhang on long sides; lightly brush parchment with oil.

Bring cream, sugar, butter, and corn syrup to a boil in a large saucepan over high heat, stirring until sugar dissolves. Reduce heat to medium-high; cook, stirring occasionally, until caramel reaches 248 degrees on a candy thermometer, about 15 minutes.

Immediately remove caramel from heat, and stir in salt and vanilla. Pour caramel onto baking sheet, and let stand, uncovered, at room temperature at least 8 hours and up to 1 day.  Add salt to the top (not too much) after it sets up a bit.

Lifting by parchment overhang, transfer caramel to a large cutting board. Cut into 3/4-by-1 1/4-inch pieces; wrap each piece in waxed paper or cellophane.

First successful kiln unloading.

It's been a long time coming but after practicing pottery for over 5 years, a million glaze tests, and trying out every technique I could find, I think I've finally started to get a body of work that I like and I can say is my own.  It's only the beginning and it's been a very busy time trying to get it a million things together for my first craft fair.  I'm trying to get a website together (Still in development), figuring out how to photograph my pots (thank god for my fiancé Matt), logo design, cards printed, buying a tent and booth setup, and making all the pots.  But it's all starting to come together and I couldn't be happier!